Solar System
Project Type
Software Used
Languages Used
Primary Role(s)
Individual Project
Visual Studio
C++
Solo Developer
Showcase of various techniques and algorithms used to create a dynamic 3D world with moving objects, dynamic lighting, terrain mesh generation, material system and other low level features. The application has been developed using Hieroglyph rendering framework which is written in C++ and utilizes DirectX 11, Lua, and the DirectXTK library.
EXEThere are several methods that can be used in order to generate a terrain mesh. I created a Terrain Generator class which is used for decoupling and to increase cohesion of classes as it acts as a specialized library of generic functions that can be used for terrain mesh generation and modification.
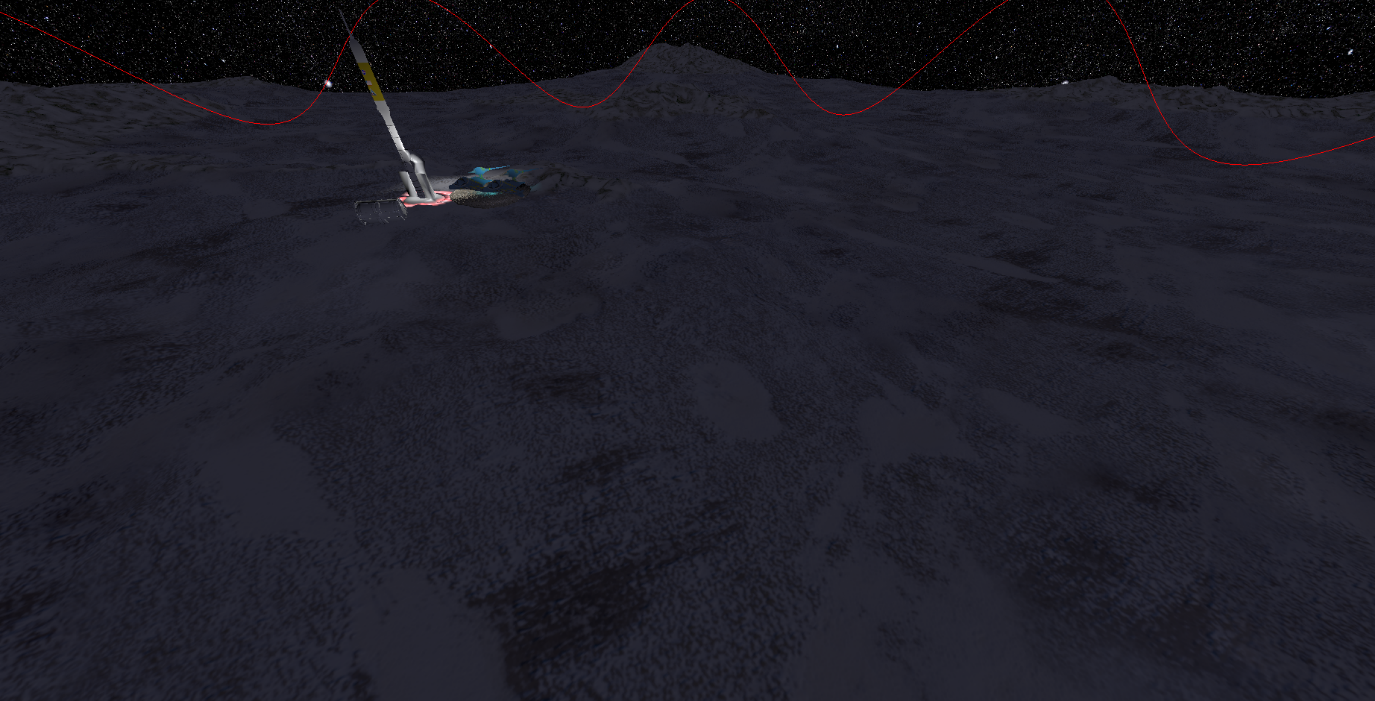
For terrain mesh creation, I implemented loading meshes from a heightmap file. This allows creation of the terrain mesh in external software(Blender, TerreSculptor, WorldMachine etc.) and avoid the programmatic creation.

The picture below shows the terrain mesh generated from the heightmap file, rendered in solid fill mode.
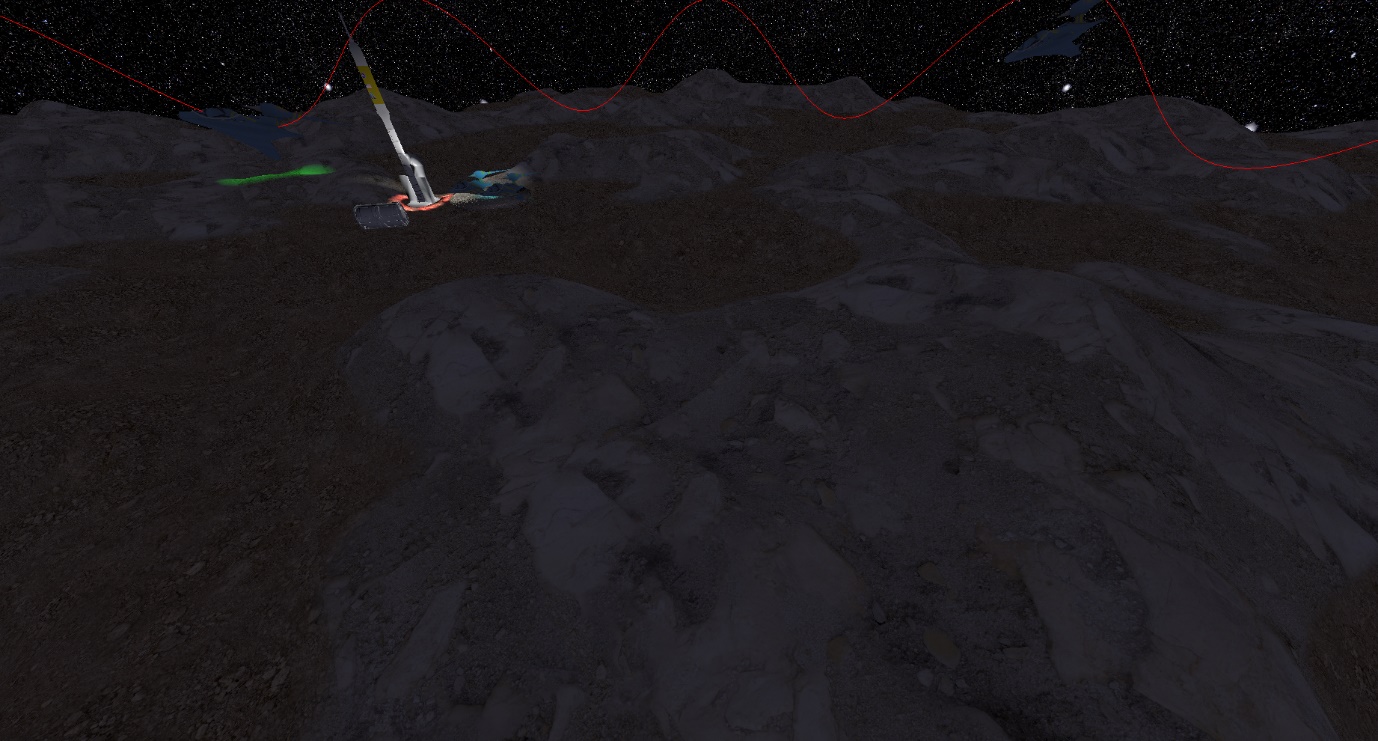
The procedural generation of the terrain mesh has been implemented using FastNoise library. Various noise methods can be used including Perlin Noise, Simplex Noise etc. The output is used to position the mesh vertices and then return the vector of points that can be then connected on order to construct a 3D shape.

On the picture below we can see the terrain mesh generated procedurally using simplex fractal noise, rendered in solid fill mode.
I implemented functions that allow for creation of the terrain mesh as a single chunk with greatly limited number of vertices. Additionally I implemented two chunking methods that help in increasing the number of vertices per terrain.
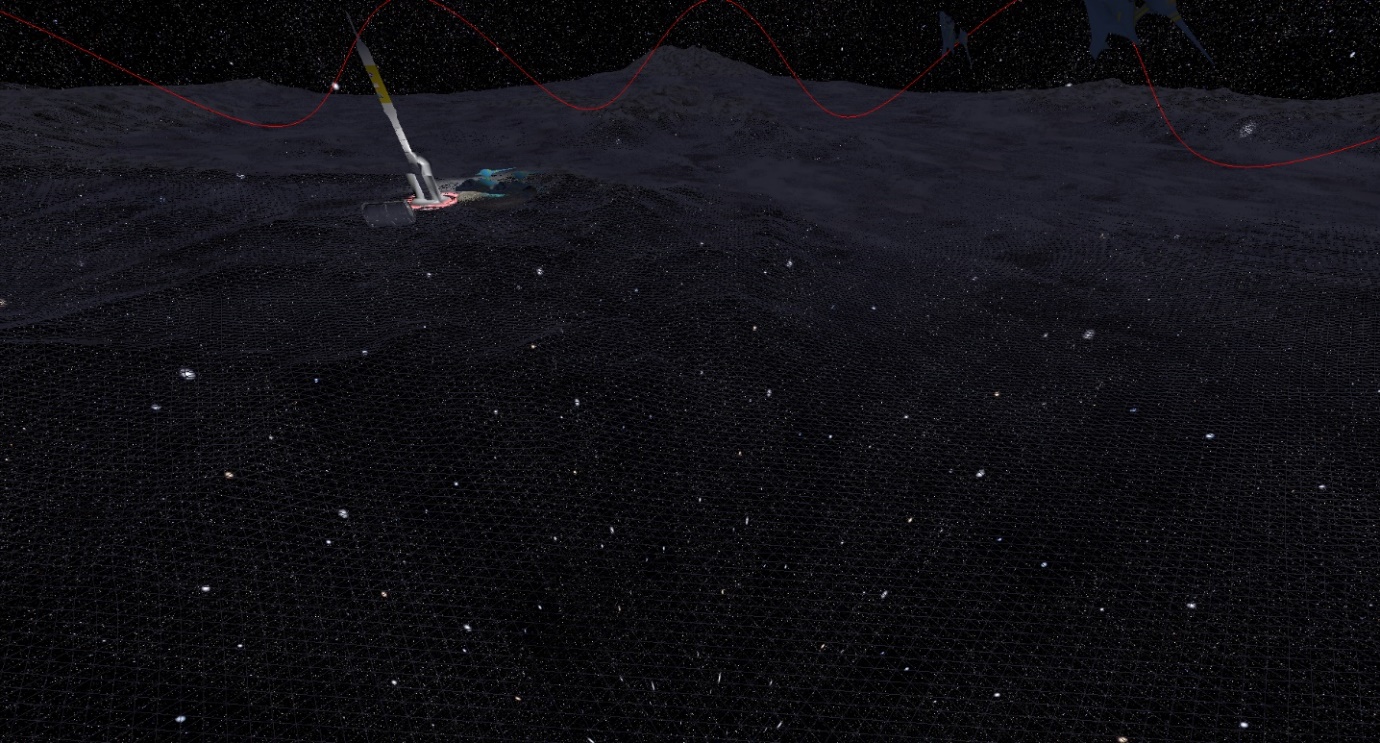
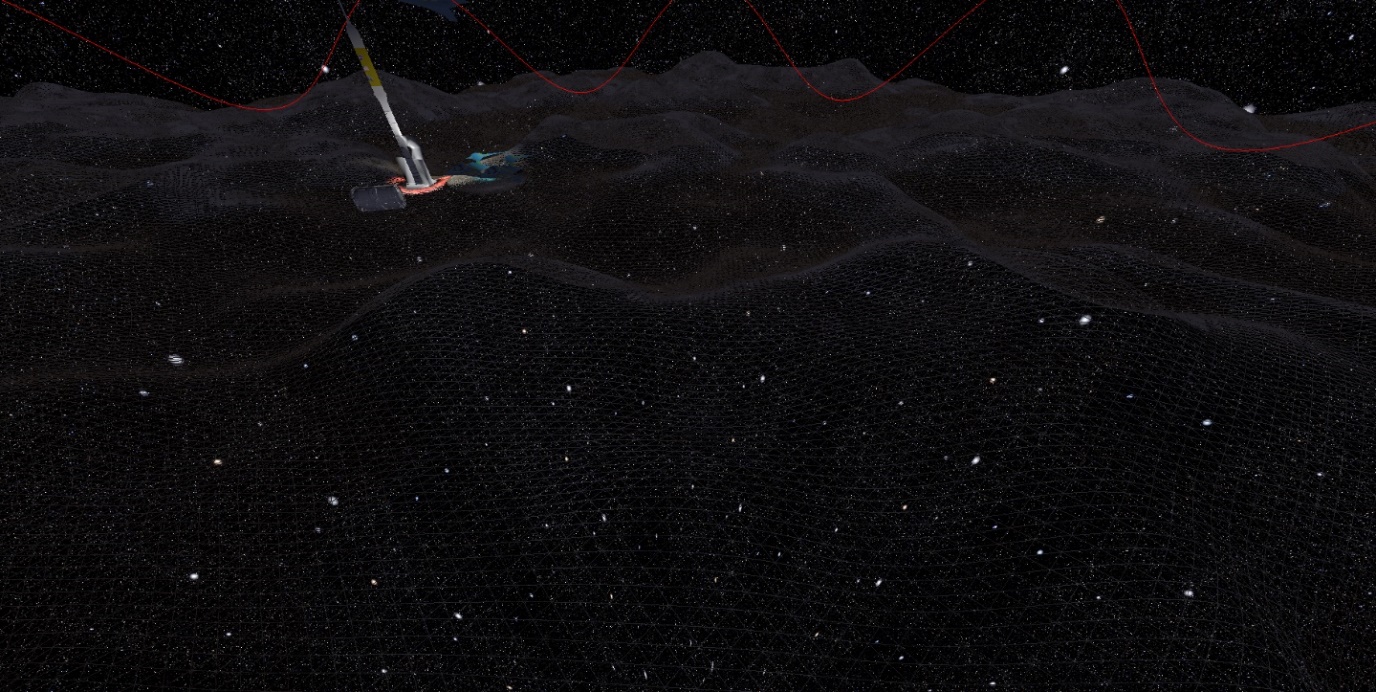
Terrain mesh can be duplicated so that 4 equal chunks are created.
Example: Terrain Resolution: 254 x 254 vertices. After chunking, the resolution will be 4 * (254 x 254) which also allow for rendering bigger terrains. The picture below shows the terrain mesh generated in 4 chunks from the heightmap file, rendered in wireframe mode.
The following image shows the terrain mesh generated in 4 chunks using the procedural generation, rendered in wireframe mode.
Each terrain mesh has been mapped using different textures(Multi texture mapping - HLSL). Each mesh uses two textures, one to map lower parts of the mesh and another to map higher parts of the terrain. Blending between the two depends on the Y(height) value of the vertex in 3d space.
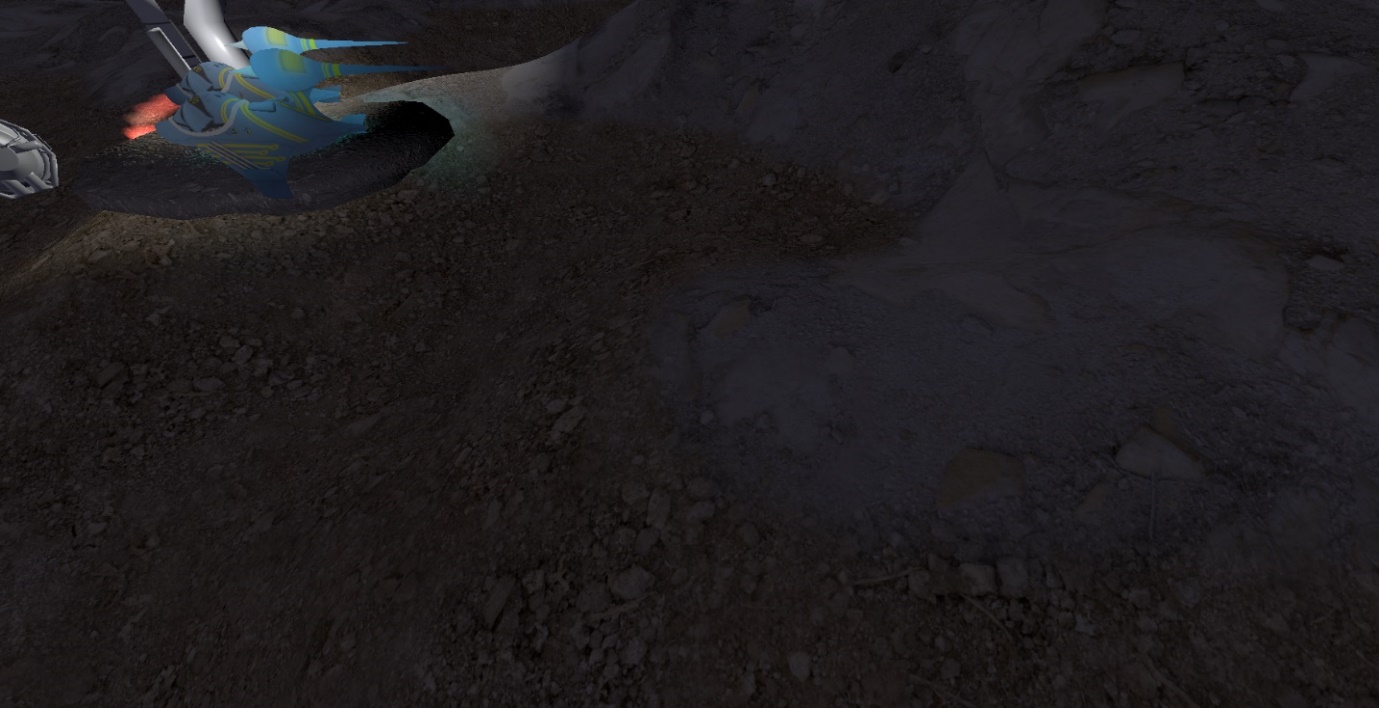
Figure 5 Texture blending between the texture mapped to lower regions of the terrain and another texture mapped to the higher regions of the mesh
Texture mapping has been implemented in pixel shader that has been written in HLSL. I also added a smooth blending between the two textures.

Implementation of multiple light sources was one of the most challenging features in this project. I decided, that I will create light classes in application, adhering to object oriented programming principles and then will send relevant data into shaders which will then use this data to lit geometry in a scene.
I created a base class called Light_Base which is an abstract class and a pare nt class for all light types. From this class, I derived spot, point and directional lights. Light info is stored in a simple struct which is also mirrored in a shader using also a struct. The key was to keep the layout of the structure from the shader the same as the struct created in application by the CPU.
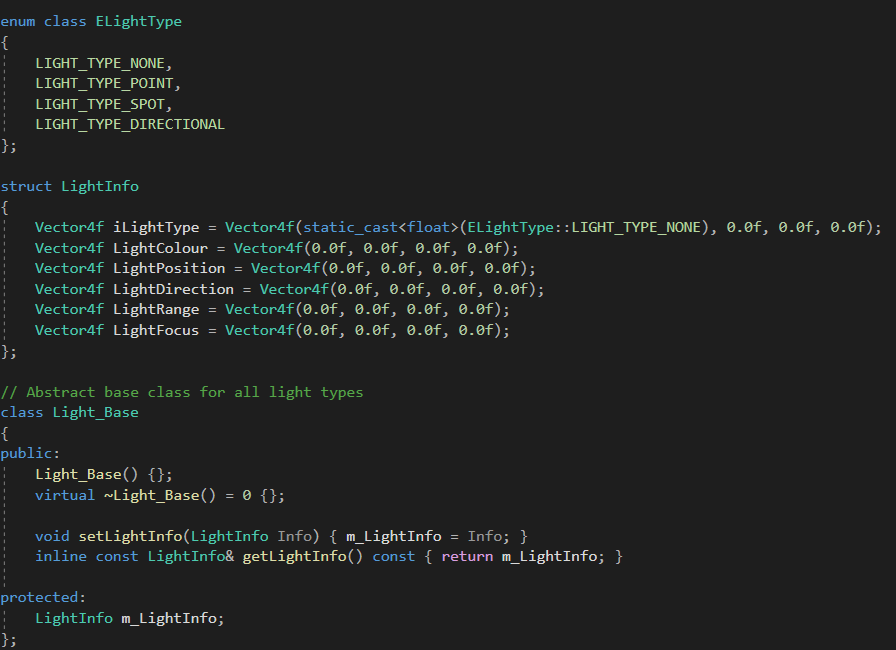
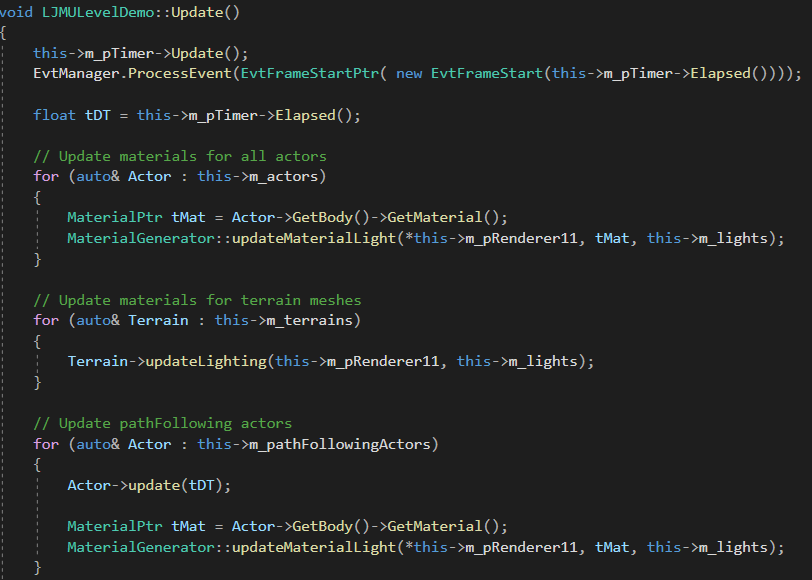
In the main level I store all light structs in a single vector(std::vector). From there I can easily update each light in each frame if needed.
Setting and updating of the lights is handled by Material Generator class. In order to apply lights or update them in a specified material, the whole vector with lights is required. Inside the function responsible for loading light data into a shader, a simple array is created which is then filled by the data from the vector. It is then mapped into a shader resource and the constant buffer inside the shader is being updated by replacing the previous light data.
In order to lit the objects in a scene, I implemented Phong reflection model using it's equation that combines ambient, diffuse and specular colors to get the final reflection. 3 types of lights have been implemented in the shader, this reflects the types created in application. I created a separate function foe each light type in the shader. Each function will calculate and output the color affected by the light.
Point Light:

Directional Light:

Spot Light:

Inside the pixel shader, I decided just to loop through the arrays of light infos and based on it's type, calculate the colour intensity and finally apply it to a final color.
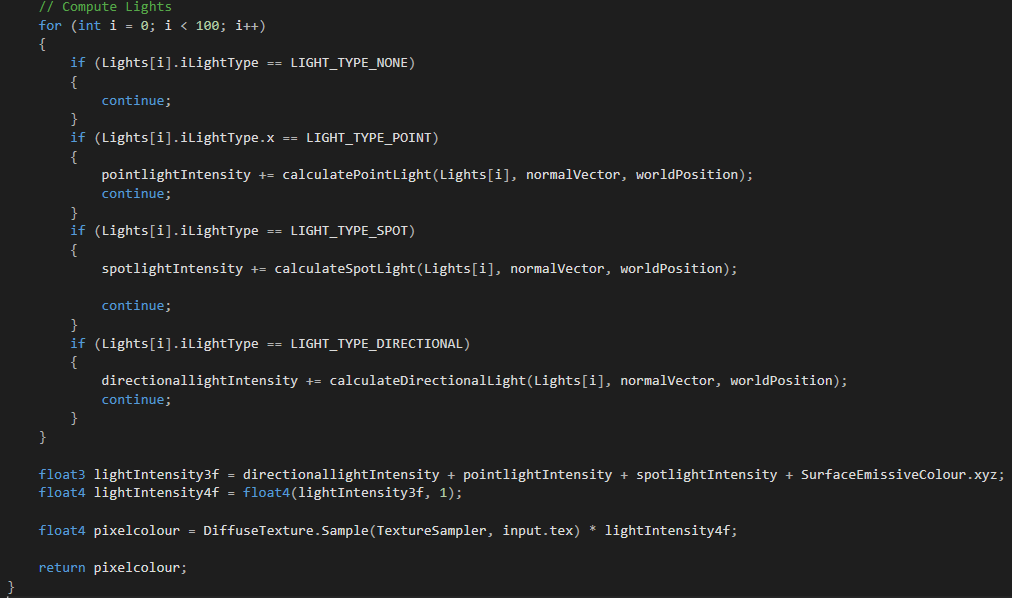
All the lights will contribute to the final pixel color. This will be done for all fragments and the shader is used for all lit objects in a scene.
I am more than happy from the results. It is not the most efficient way to implement lighting, especially if there will be rage number of lights in the scene. In such case, Deferred Rendering with use of the G-Buffer would be a more suitable and efficient technique but at this point it turned out to be a really great solution for having several lights.
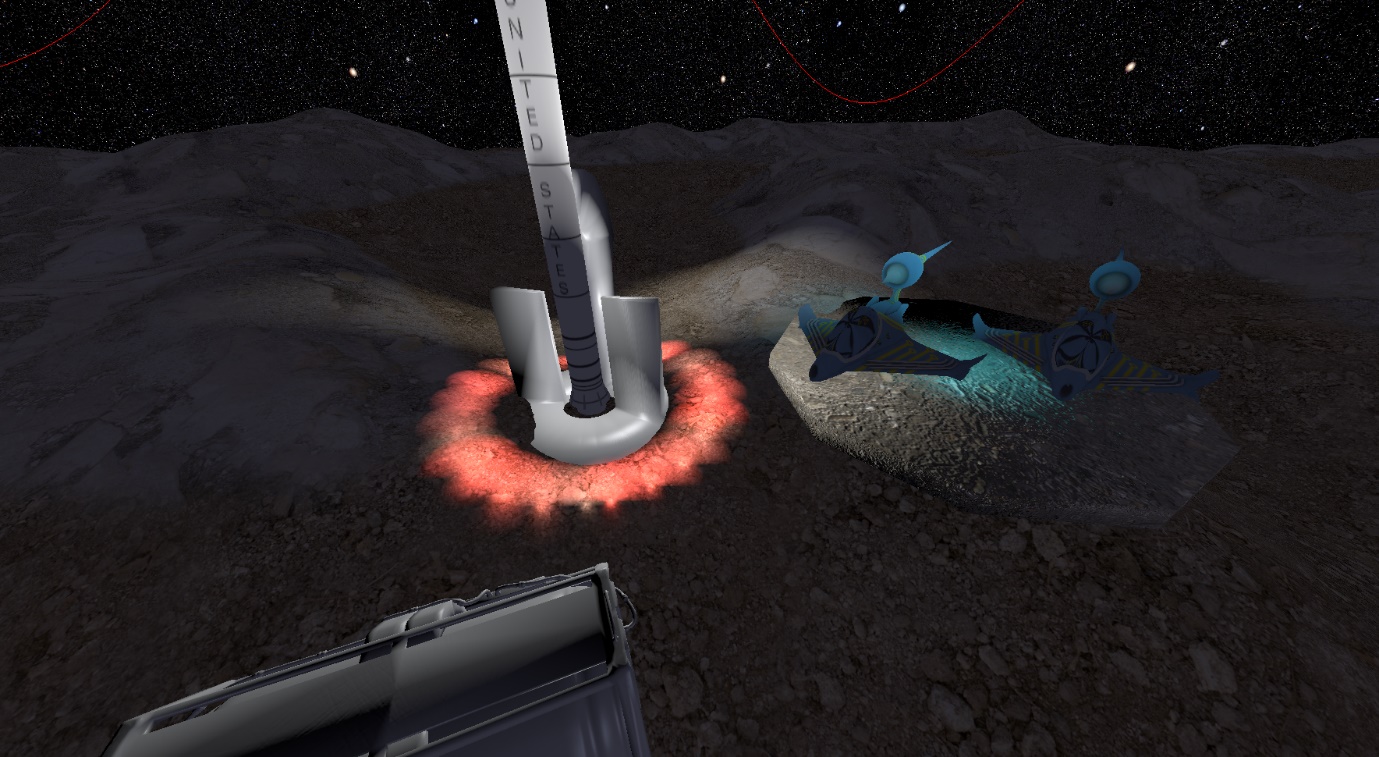
As an addition, I implemented dynamic lighting which means that some lights can change their positions. Scene and static objects react to the lights position changes. I performed some stress tests and even 100 lights didn't noticeable impact the frame rate.
The cinematic consists of several elements such as spline based path, path following agent and dynamic, cinematic camera. This gave me an insight into the techniques and low level structure of such systems.
I implemented 3 spline generation methods: Linear, Catmull Rom and Hermite. I also created a dedicated class: Path Generator which is used for generation paths/splines. Additionally I created a Pathfollowing Actor class derived from an Actor class. It is a specialized type of actor which can take a path already generated and then move along that path, travelling from one point to another. This class is used for spaceships implementation.
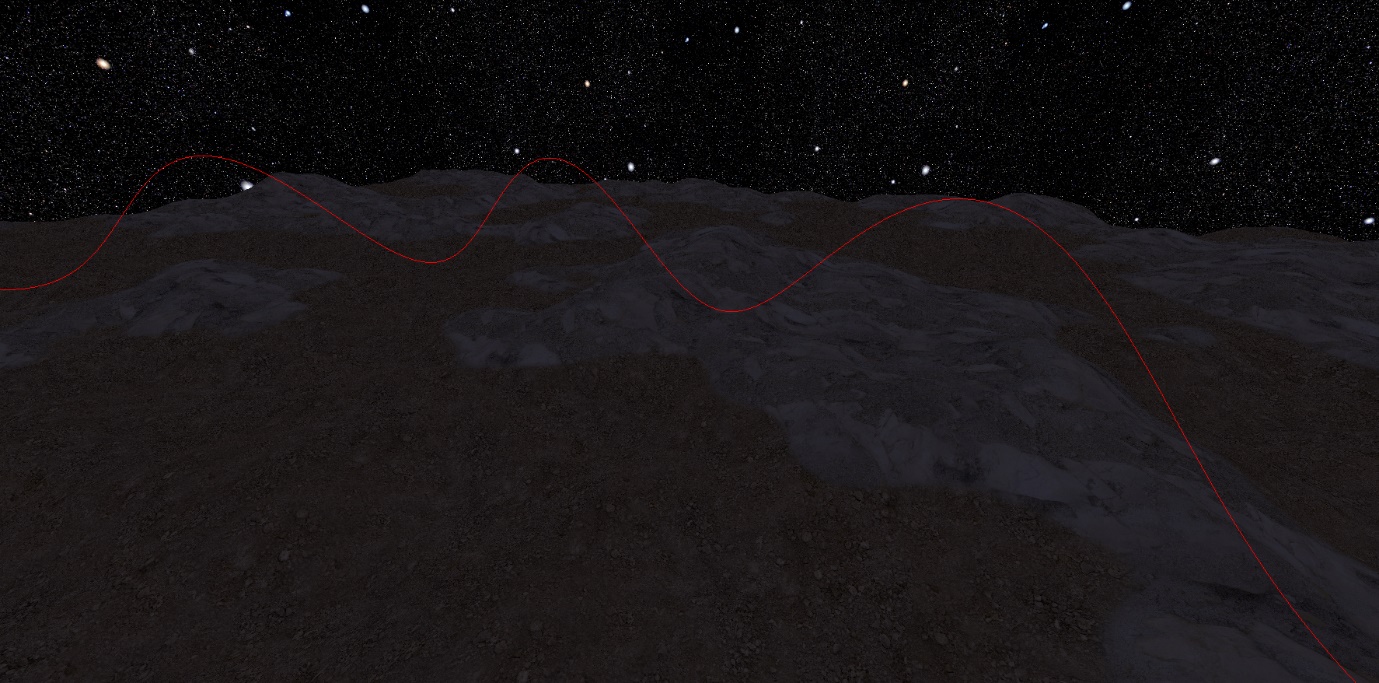
Path Generator can generate the paths using one from 3 mentioned methods. The final pathf will be returned in a form of an array of vectors.

As mentioned above, I used my custom class, Pathfollowing Actor which can follow any path consisted of points. In each frame, it recalculates it's position and moves towards next points.

I also made use of dynamic lighting that I implemented and attached one point light per each spaceship. Overall, there are 3 spaceships and so 3 dynamic spot lights that can lit terrain if the spaceship is close enough.
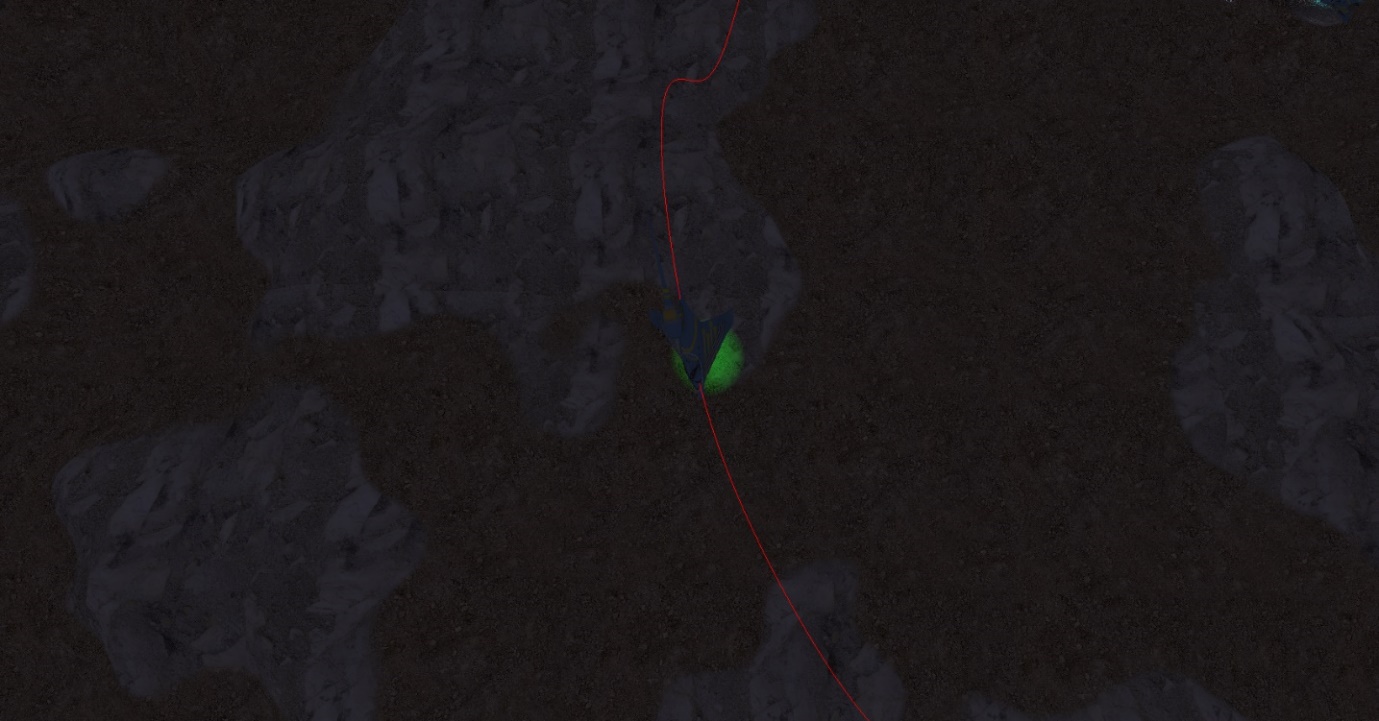
For the cinematic camera, I implemented my custom class, Cinematic Camera which is a class derived from FirstPersonCamera class. This way, the cinematic camera has all the functionality that the standard camera has, but I also added a pointer to an Actor which is a focus object.
If camera has a focus object, it will adjust its position and will follow the object. The camera will also perform a circular movement and will smoothly rotate around the Y axis in 3D space in order to create a cinematic movement.
There are several background elements that helped increase the complexity of the scene as well as allowed me to explore various rendering and animation techniques.
Custom meshes created in external 3D modelling software can be loaded into the application in obj format.
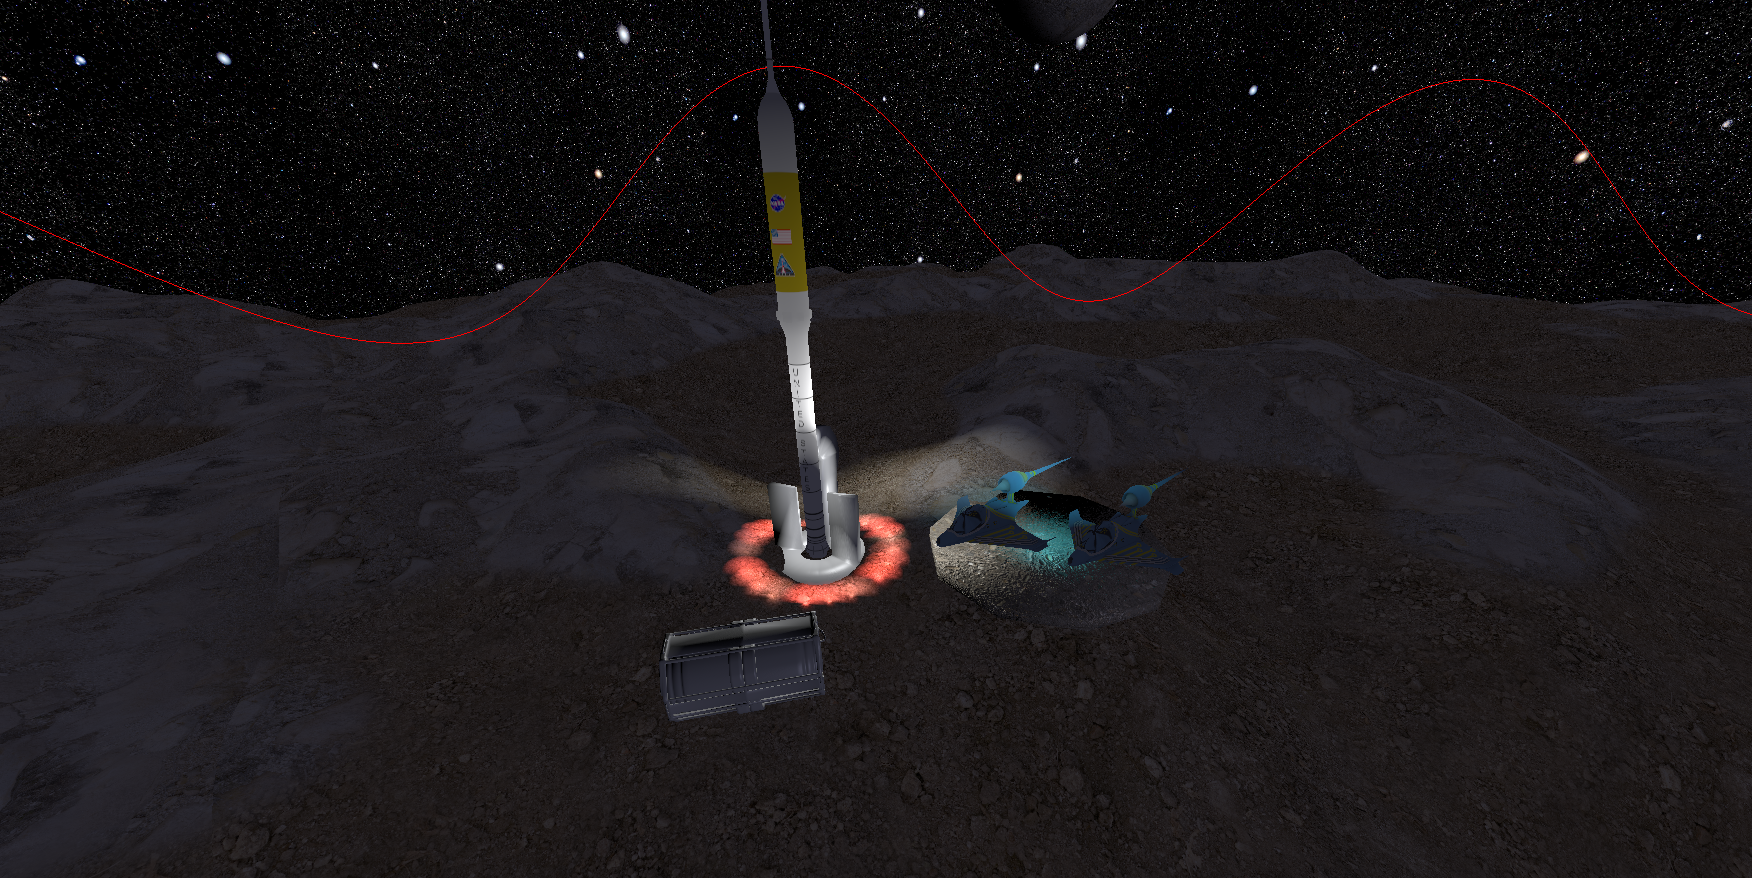
Skybox is just a sphere 3D mesh with a texture rendered from the inner side of the model. I created a shader which is used in a skysphere material with specific D3D settings.
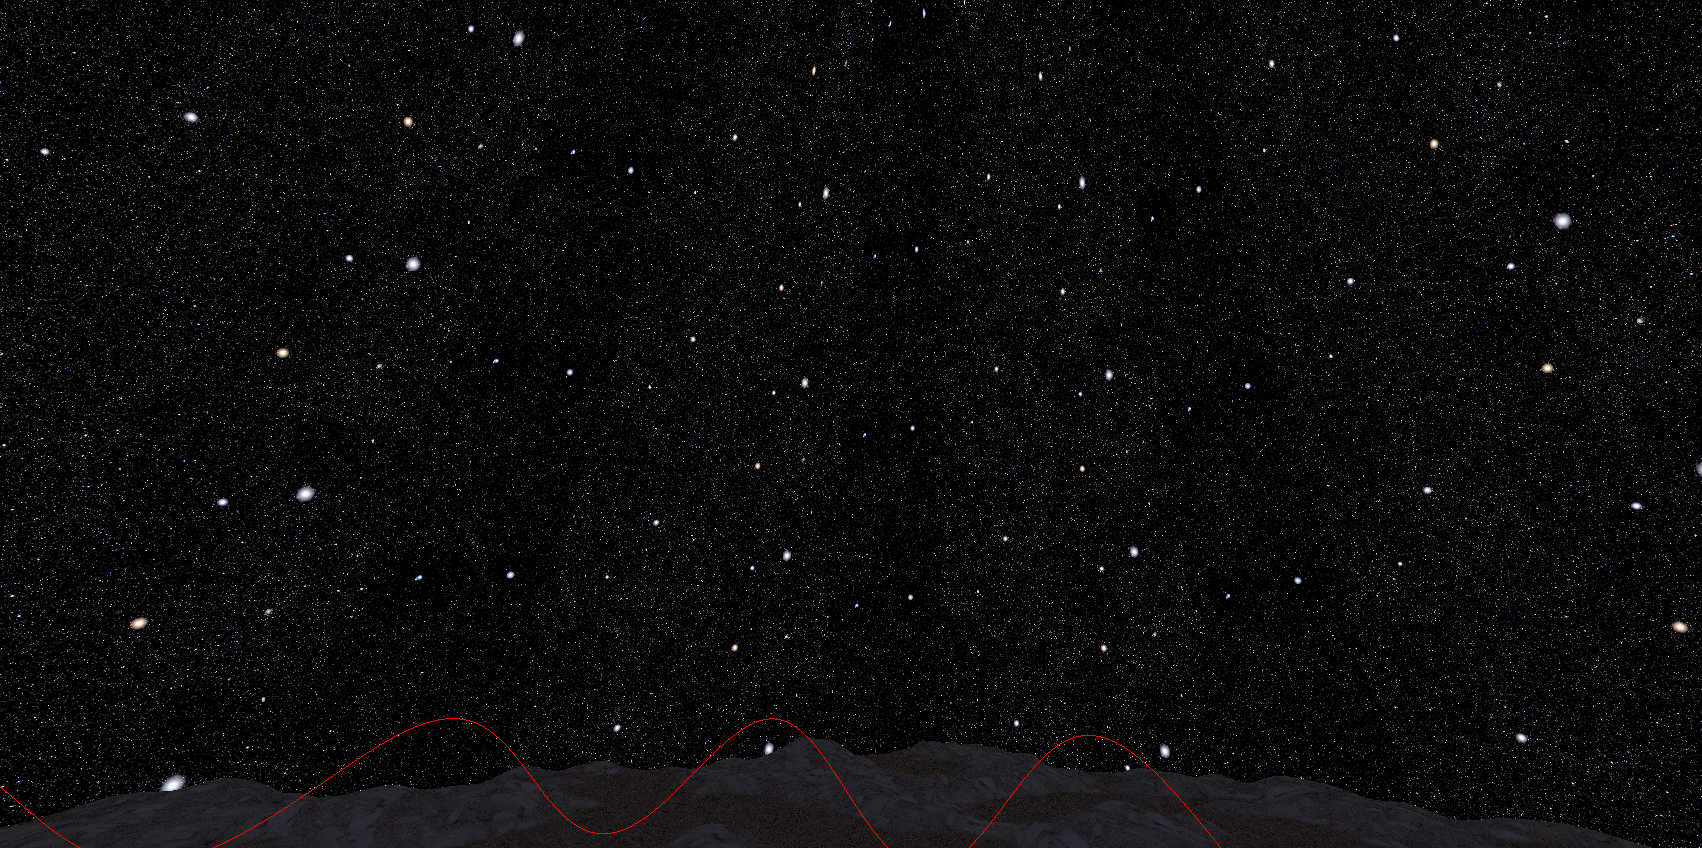
I implemented a planet explosion animation in Geometry Shader. The animation is interactive. User can use a key to enable explosion or disable it and allow for a planet rendering with its standard material.
Implementation of a solar system was one of the most exciting challenges in this project. I decided to use an instancing to render a large number of planet meshes without a great impact on performance. Instancing is a powerful tool which can help to bring scenes that are enormous in sizes and filled with the same static meshes.
I decided to create and implement my own Instanced Static Mesh. It is an actor with standard transforms, however, the actor itself is used only for positioning and storing a pointer to the mesh.
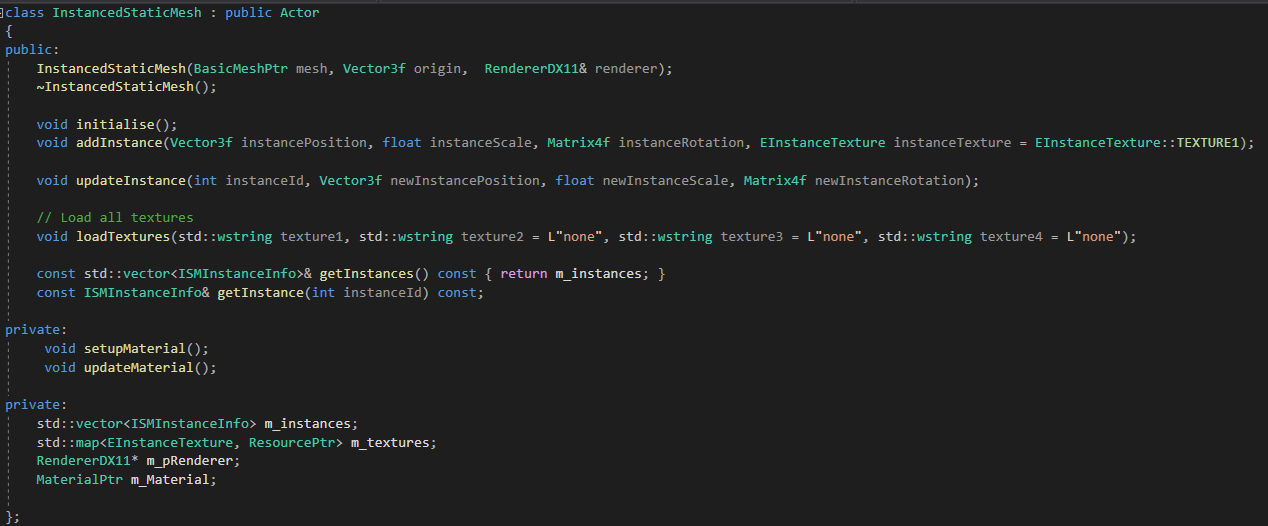
Each ISM can create up to 32 instances of static meshes with various position, rotation and scale. I created a custom struct ISMInstanceInfo which is used to store relevant data per instance. It is also loaded into a Geometry Shader so that all of the per instance information is then used in the shader to transform instances.
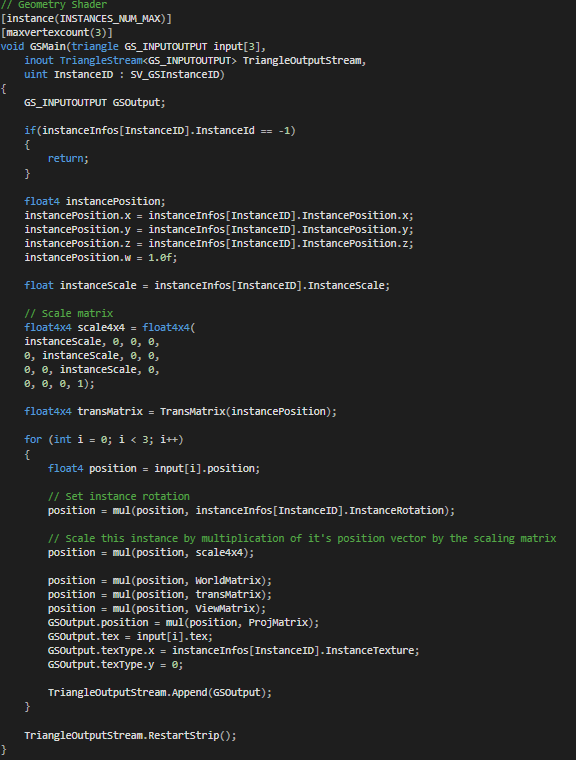
Each ISM supports 4 textures. This means that I can create 32 instances of the same mesh with 4 different variations.
I also created a specialized class, SolarSystem class. It is a class which is responsible for initialisation, updating and storage of the several ISMs in order to easily create a great numbers of instances. This class allowed me to create 3 Instanced Static Meshes, each with 32 instances which gives 96 instances of the static mesh. But that's not all. Having 3 ISMs allowed me to load 4 different textures into each ISM. This gives 12 texture variations for the whole solar system. All instances are randomly generated which means that their movement speed, rotations speed, movement radius, scale and texture are randomly generated which helps in creating more vibrant scene.
Material Generator class has been implemented to provide easy access to basic materials. The main role of Material Generator is to implement basic material functions as well as provide several more abstract functions that allow the user to further modify the materials.
Material system offers some already defined materials with specific shaders and allow for customization via parameters that are then sent into the GPU for further processing by HLSL shaders.
